
Claim Your Free Roofing Estimate Today
Mastering DIY Roof Inspection: 7 Essential Steps to Detect Damage Early
Spot Roof Damage Early: 7 DIY Inspection Steps
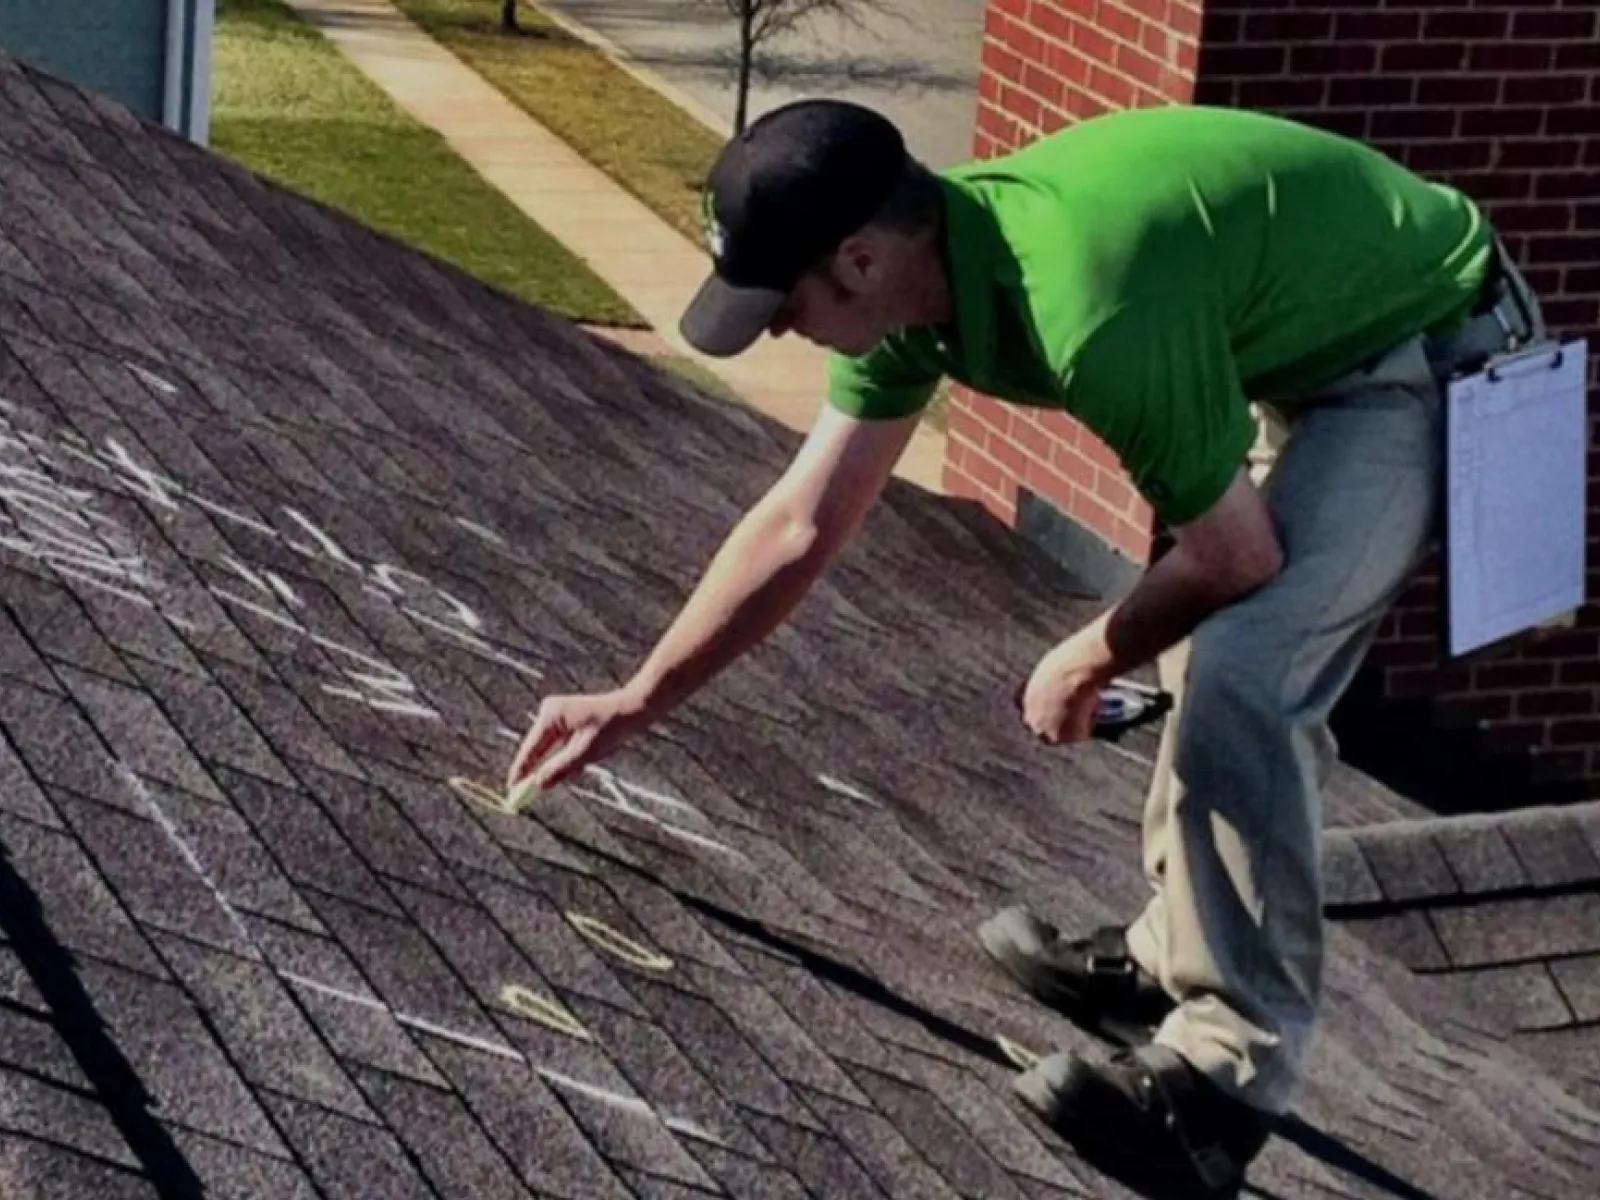
Why Regular Roof Checks Matter
Your roof works hard every single day, shielding your home from rain, wind, heat, and everything North Carolina weather throws at it. In the High Point area, our roofs face a particular challenge: humid summers that encourage algae and mold growth, sudden afternoon thunderstorms that test flashing and seals, and the occasional ice storm that can lift shingles or stress gutters. A small leak today can quietly turn into a $10,000 repair tomorrow if water finds its way into your attic insulation or framing.
That’s exactly why catching problems early matters so much. A DIY roof inspection twice a year (spring and fall work well here) gives you a fighting chance to spot minor wear before it becomes structural damage. You don’t need to be a roofing contractor to notice curling shingles, missing granules, or a gutter full of debris. What you’re really doing is gathering intelligence:Is my roof holding up? Are there warning signs I should act on?
Think of these inspections as preventive maintenance, similar to changing your car’s oil. You’re not fixing the roof yourself necessarily, but you’re staying aware of its condition so you can make informed decisions. And if you do find something concerning, you’ll have caught it early enough that a quick repair can handle it instead of waiting until your ceiling starts dripping during a rainstorm. Regular checks also give you documentation over time, so you can track how quickly certain areas are aging and plan accordingly.
Step 1: Gather Your Safety Gear and Tools
Before you even think about climbing a ladder, let’s talk about staying safe. Roof inspections come with real risk, and taking shortcuts here can lead to serious injury. Start with a sturdy extension ladder that reaches at least three feet above your roofline. Make sure it’s rated for your weight plus any gear you’re carrying. Position it on firm, level ground, and always maintain three points of contact when climbing.
Wear rubber-soled shoes with good grip. Avoid inspecting your roof on wet or windy days, especially here in High Point where summer humidity can leave morning dew on shingles well into late morning. If your roof has a steep pitch (anything over 6:12), it’s often smarter to stick with binoculars and a ground-level inspection or call in a professional from the start.
Here’s what you’ll need in your inspection kit: a sturdy ladder, binoculars for distance viewing, a digital camera or smartphone to document what you find, a tape measure, a flashlight for checking dark areas like vents and eaves, work gloves, and a notebook. If you’re comfortable climbing onto the roof itself, consider a safety harness, especially if you’ll be walking around. Many hardware stores in the area rent these if you don’t want to buy one outright.
One more thing: let someone know you’re going up. Have a family member or neighbor aware that you’re doing an inspection, and keep your phone handy. Falls from ladders are one of the most common home injuries, and a little caution goes a long way. If anything about the setup feels unstable or unsafe, trust that instinct. First Class Roofing offers professional roof inspections if you’d rather have experienced hands on the job, and sometimes that peace of mind is worth it.
Step 2: Start with a Ground-Level Visual Sweep
You can learn a surprising amount about your roof without ever leaving the ground. Walk around your entire house slowly, stopping at each corner to get a full view. Use binoculars to scan the roof surface section by section. You’re looking for obvious signs of trouble: missing or damaged shingles, sagging areas, dark streaks or stains, and any spots where the roofline looks uneven.
Pay close attention to shingle edges along the eaves and rake. These are the most vulnerable to wind uplift, especially after one of those intense summer storms that roll through the Piedmont. If you see shingles that are curling up at the corners, lying flat but cracked down the middle, or missing altogether, snap a photo and mark the location in your notes. Also look for granule loss. Asphalt shingles are coated with tiny mineral granules that protect the underlying material from UV damage. When those granules start washing off in large amounts, the shingles age faster. You’ll often see piles of granules in your gutters or downspouts as an early clue.
Check your gutters from the ground, too. Are they sagging or pulling away from the fascia? Do you see any rust stains, holes, or sections that look bent? Gutters play a critical role in directing water away from your roof and foundation. When they fail, water can back up under shingles or overflow onto siding and landscaping, causing a cascade of problems.
Look at the chimney, vent pipes, and any other roof penetrations you can see. The flashing around these features (the metal strips that seal the gap between the roof and the structure) should lie flat and show no rust, cracks, or gaps. In North Carolina’s humid climate, even small gaps can let moisture seep in and start rotting wood decking before you ever notice a drip inside. If you spot any of these warning signs during your ground-level sweep, it’s worth a closer look or a call to a local roofing team who can assess the situation properly.
Step 3: Inspect Shingles and Roof Surface Up Close
Once you’re safely on the roof (if you choose to climb), walk carefully and methodically. Avoid stepping on areas that look soft, discolored, or damaged. Start at one corner and work your way across in rows, checking each shingle as you go. You’re looking for four main issues: cracks, blistering, curling, and missing tabs.
Cracks often run horizontally or diagonally across a shingle and can result from thermal cycling (the expansion and contraction that happens as temperatures swing). Here in High Point, we see plenty of hot afternoons followed by cool nights, especially in spring and fall, and that stress adds up over the years. Blistering happens when moisture gets trapped under the shingle surface, creating bubbles that eventually pop and leave a weak spot. Curling occurs when shingle edges lift up or the center starts to dome, usually a sign the shingle is nearing the end of its lifespan.
Run your hand gently over the shingles. They should feel rough and gritty from the granules. If they feel smooth or you see large bare patches where the black asphalt shows through, that’s advanced wear. Check the sealant strips (the black adhesive lines that bond each shingle to the one below). If those strips have failed, wind can more easily get under the shingles and peel them back.
Also look at the roof decking through any gaps or damaged areas. The plywood or OSB underneath should be dry, flat, and free of dark stains or soft spots. Any sagging, sponginess, or visible rot means water has been getting in, and that’s a red flag that requires immediate professional attention. If you’re finding multiple problem areas or anything that looks like structural concern, it’s time to step back and reach out to a qualified roofing contractor. First Class Roofing can provide a thorough inspection and help you understand whether you need targeted repairs or if it’s time to think about a roof replacement.
Step 4: Check Flashing, Vents, and Roof Penetrations
Flashing is one of the most critical and most commonly overlooked parts of your roof system. These thin metal strips (usually aluminum or galvanized steel) seal the joints and transitions where your roof meets a wall, chimney, skylight, or vent pipe. When flashing fails, water follows, often running down inside walls or into the attic where you won’t see it until significant damage has occurred.
Inspect the flashing around your chimney first. It should form a continuous, watertight seal where the chimney meets the roof. Look for rust, corrosion, or any separation between the metal and the masonry or shingles. If you see gaps, cracks, or missing sections, that’s a leak waiting to happen. The same goes for vent pipes. These are typically sealed with a rubber boot that fits snugly around the pipe. Over time, especially under our intense summer sun here in North Carolina, that rubber can crack, split, or pull away. A damaged vent boot is one of the most common sources of roof leaks and one of the easiest to fix if you catch it early.
Check skylights if you have them. The flashing and seals around skylights take a beating from temperature swings and UV exposure. Look for any gaps, cracks in the glass, or condensation between panes. Also inspect roof valleys (the V-shaped channels where two roof planes meet). Valleys channel a lot of water, so they’re prone to wear. The metal or shingle material lining the valley should be intact with no holes, rust, or shingles sliding out of place.
Ridge vents and soffit vents are also worth a look. Proper attic ventilation helps regulate temperature and moisture, reducing the risk of ice dams in winter and heat buildup in summer. Make sure vents aren’t blocked by debris, nests, or damaged screens. If you’re noticing multiple issues with flashing or ventilation, or if repairs look complicated, that’s a great time to bring in a professional. First Class Roofing specializes in roof repair and can handle flashing replacement, vent sealing, and all the detail work that keeps your roof watertight for years to come.
